Introduction to GitHub Actions
If you’ve completed the previous module, you already know that Codemagic is a beginner-friendly tool for automating Flutter app releases.
But if you’re ready to level up and take on a bit of a challenge, GitHub Actions is an excellent choice. In this module, I’ll guide you step-by-step to help you make the most of it.
Why GitHub Actions?
Here are some reasons for choosing GitHub Actions for your CI/CD needs:
- Integrated with GitHub: If your code is hosted on GitHub, you’re already halfway there (no need to signup for a separate CI/CD tool).
- Highly Portable: Workflows are written as YAML files and can be easily reused across projects, making GitHub Actions ideal for both open-source and private projects.
- Full-Stack Automation: It’s not just for Flutter apps—you can use it to automate backend deployments, run tests, or even manage infrastructure.
- Self-Hosted Runners: With self-hosted runners, you get faster builds and lower costs. We’ll explore how to set this up in later lessons.
- Reliable Uptime: GitHub Actions offers a 99.9% uptime guarantee for enterprise users, while other providers such as GitLab and Bitbucket don’t offer a public uptime guarantee.
While GitHub Actions is powerful, it can be tricky to get started. That’s where this module comes in to simplify the process. 👇
Common Challenges (and How We’ll Solve Them)
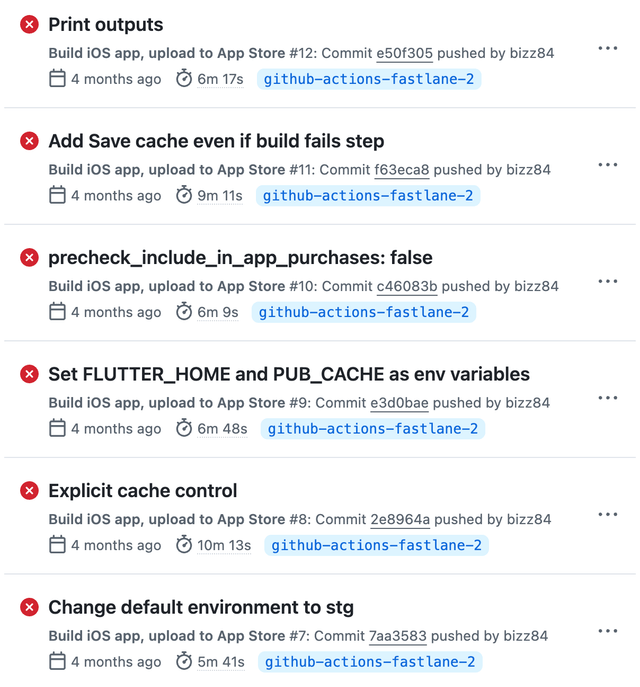
If you’ve ever tried setting up a complete iOS & Android release pipeline from scratch with GitHub Actions, you know how annoying it is to get one failed build after another:
I’ve been there too. It’s frustrating. But through trial and error, I’ve worked out the kinks, and now my goal is to help you:
- Skip the guesswork: I’ll provide you with a complete, ready-to-use workflow as a foundation for your own projects.
- Debug smarter: I’ll teach you effective ways to debug failed builds—and show you why self-hosted runners can be a game changer.
By the end of this module, you’ll not only understand the basics of GitHub Actions but also learn advanced techniques to make your pipelines faster, more reliable, and easier to manage.
What You’ll Learn in This Module
Here’s an overview of what we’ll cover:
- Getting Started with GitHub Actions: Learn YAML workflow syntax and create your first workflow.
- Anatomy of a Workflow: Understand triggers, jobs, steps, and other core concepts.
- Secrets, Variables, and Environments: Learn how to securely manage sensitive data and configure environments.
- Running Your First Workflow: Trigger a workflow manually and analyze its output.
- Self-Hosted Runners: Set up and debug self-hosted runners for faster builds.
- Android Setup: Configure Android code signing and Play Store distribution.
- iOS Setup with Codemagic CLI: Simplify iOS code signing and App Store distribution.
- Uploading Source Maps to Sentry: Automate source map uploads for better crash reporting.
- Reusable Workflows: Chain workflows together for more complex pipelines.
- Checklist and Tips & Tricks: Skip the guesswork and get straight to the point.
What about Fastlane?
You might be wondering: why not use Fastlane for iOS automation? It’s a powerful toolkit that can handle code signing, distribution, metadata & screenshots uploads, and more. But it also introduces extra complexity that many projects don’t need.
Instead, we’ll use Codemagic CLI for iOS-related tasks. It’s simpler, faster to set up, and gets the job done. If you’re curious about Fastlane, let me know in the course feedback—I might add it to a future lesson.
Let’s Get Started!
In the next lesson we’ll fork the official course project and use it as a starting point for our automation journey.
Let’s dive in! 🚀
Resources
Here are some useful resources to refer back to as you progress through this module: